Chili Garlic Oil Paste
A pantry powerhouse — toasted dried chilies and fresh garlic, blitzed into a fragrant, fiery paste with olive oil, salt, and a touch of sugar. Ready in minutes and endlessly useful.
| Amount | Ingredient |
|---|---|
| 10 | Dried chilies Arbol, guajillo, or a mix |
| 6 cloves | Garlic Peeled |
| 1 cup (240 ml) | Olive oil Or neutral oil |
| — | Salt A generous pinch |
| 1 tsp | Sugar Granulated |
This simple chili garlic oil paste is the kind of condiment that transforms everyday cooking. Toasted dried chilies provide deep, smoky heat; fresh garlic adds pungent bite; olive oil binds it all into a spoonable paste that keeps for weeks under a layer of oil. A whisper of sugar rounds the edges and balances the heat. Use it to kick-start stir-fries, marinades, soups, dressings, or simply toss it with hot pasta for the most effortless weeknight dinner imaginable.
🥘 Equipment
- Small dry skillet or pan (for toasting chilies)
- Food processor or powerful blender
- Chef's knife
- Cutting board
- Airtight jar or container (for storage)
📋 Preparation
Step 1 — Toast the Chilies (2 min)
Place the dried chilies in a dry skillet over medium heat. Toast, shaking the pan frequently, until fragrant and the color deepens slightly — about 1–2 minutes. Do not let them smoke or burn. Transfer to a plate to cool slightly.
Toasting awakens the chilies' essential oils, adding a layer of smoky, toasty depth that raw chilies lack. Watch them carefully — burnt chilies are irredeemably bitter.
Step 2 — Remove Stems and Seeds (2 min)
Once cool enough to handle, snap off the stems. Decide on heat level: for a milder paste, shake out most of the seeds; for a fiery paste, leave them in. Roughly chop the chilies into smaller pieces.
The seeds contain much of the heat but little of the flavor. Removing most of them gives a more balanced, flavorful paste; leaving them all in makes it aggressively spicy.
Step 3 — Blend the Paste (5 min)
Combine the toasted chilies, garlic cloves, olive oil, a generous pinch of salt, and sugar in a food processor or blender. Process until a smooth, thick paste forms — about 2–3 minutes, scraping down the sides as needed.
The consistency should be like a thick, spoonable paste — not a thin sauce. If it's too thick to process, add another tablespoon of oil. If it's too thin, add another chili or two.
Taste and adjust: more salt for savoriness, more sugar for sweetness, more chili for heat. This is your paste — tune it to your liking.
Step 4 — Transfer to Jar
Spoon the paste into a clean, airtight jar. Smooth the surface and pour a thin layer of olive oil over the top — this seals the paste and prevents oxidation. The paste will keep in the refrigerator for up to 1 month.
The oil seal is important — it creates an anaerobic barrier that prevents mold growth. Each time you scoop from the jar, re-level the surface and top up with a fresh splash of oil.
🧑🍳 Chef's Tips
- Choose your chilies carefully. Arbol chilies are straight heat — bright, sharp, and uncompromising. Guajillo chilies add sweetness and a mild, fruity warmth. A mix of both gives you the best of both worlds: heat with complexity.
- Use it everywhere. Toss a spoonful into stir-fries, rub it on chicken or fish before grilling, stir it into soups, swirl it into mayonnaise for a spicy dip, or add it to vinaigrettes.
- Pasta emergency. The fastest weeknight pasta imaginable: cook spaghetti, reserve water, toss with 2 tablespoons of this paste, a splash of pasta water, and a handful of chopped parsley. Dinner in 10 minutes.
- Neutral oil works too. Olive oil gives a fruity, peppery character; use a neutral oil (grape seed, sunflower, canola) for a cleaner chili-garlic flavor that lets the chilies and garlic shine brighter.
- Double or triple the batch. This paste keeps beautifully. Make a large batch in spring when good dried chilies are abundant, and enjoy it all year.
- Go smoky. Add one dried chipotle or ancho chili to the mix for a smoky, almost barbecue-like depth. This is especially good on grilled meats.
❌ Common Mistakes
| Mistake | Why It Happens | How to Avoid |
|---|---|---|
| Bitter, acrid paste | Chilies burned during toasting | Toast over medium heat for only 1–2 minutes; remove at the first whiff of toastiness |
| Paste is too watery | Too much oil relative to solids | Start with ½ cup oil and add more only if needed; the paste should be thick |
| Paste is too thick to blend | Not enough oil or too many chilies | Add oil by the tablespoon until the processor can move freely |
| Mold develops in storage | No oil seal on top, or jar wasn't sterile | Always cover the surface with a thin layer of oil; use a clean, dry jar |
| Garlic flavor is harsh and sharp | Raw garlic overpowering the chilies | Let the paste rest in the fridge for 24 hours — the flavors meld and mellow significantly |
🔗 Related Recipes
- Thai Red Curry Paste (#284) — A more complex, aromatic curry paste with lemongrass, galangal, and shrimp paste
- Thai Green Curry Paste (#242) — A bright, herbaceous green curry paste
- Triple Garlic Spaghetti (#183) — A pasta dish starring garlic in three forms, a perfect vehicle for this paste
- Not-Basic Garlic Oil Spaghetti (#281) — The gentle, slow-infused cousin that this paste can shortcut brilliantly
🏷️ Search Tags
📸 Photo Reference
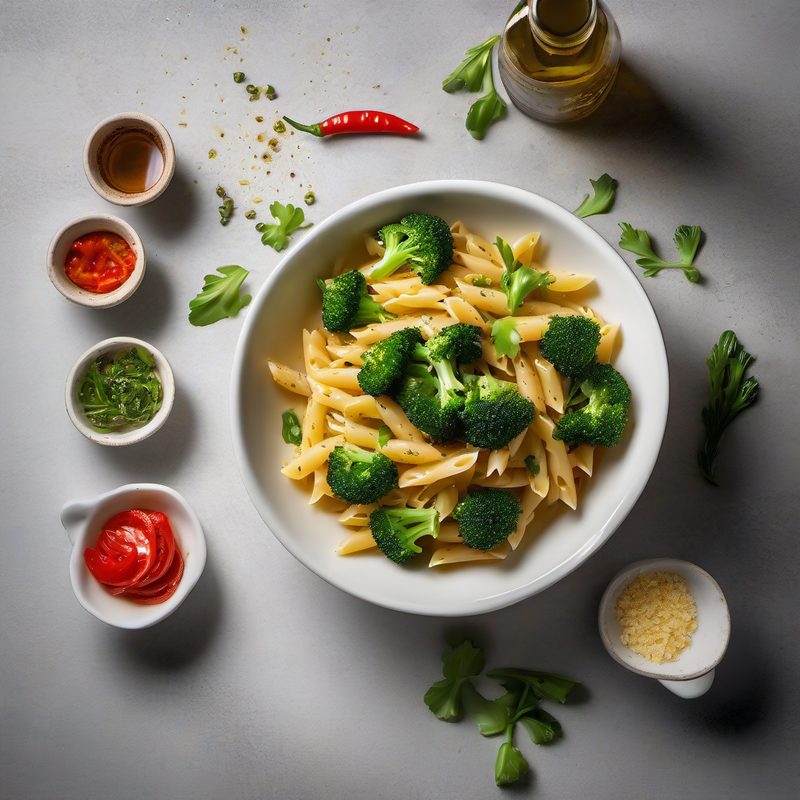
Photo reference: `vol1_296.png` — An overhead or slightly angled shot of a small, rustic ceramic or glass jar filled with chili garlic oil paste. The paste is a deep, rich orange-red, speckled with tiny chili seeds and bits of garlic. A thin, golden layer of oil glistens on top. Beside the jar: a small spoon dipped in the paste, a pile of dried arbol and guajillo chilies, several peeled garlic cloves, a small cruet of olive oil, and a pinch bowl of salt and sugar. The arrangement feels deliberate but natural — a mise en place for making the paste. The lighting is bright and diffused, casting soft shadows. The mood is simple, practical, and deeply satisfying — the visual equivalent of a powerful, reliable kitchen weapon.
Recipe from "The Italian Kitchen" by Vita Milanese — Volume 1: Pasta Perfetto 🍝
Recipe from The Italian Kitchen by Vita Milanese — Volume 1 · Pasta Perfetto. Discover all volumes on the ebook page.